
Latte art is often associated with free-pouring — the elegant act of swirling milk into espresso to form shapes like hearts, tulips, and rosettas.
But when you want to go beyond the basics and create detailed, intricate designs, it’s time to add tools to your skillset.
With the right techniques and instruments, you can transform your latte canvas into true art — drawing animals, faces, flowers, and even scenes with remarkable precision.
In this article, we’ll explore the tools used for detailed latte art, when and how to use them, and tips to keep your work clean, professional, and visually stunning.
The Two Types of Latte Art
Before diving into tools, it’s important to understand that latte art falls into two categories:
- Free-pour latte art – Created by controlling milk flow directly from the pitcher
- Etching or drawing latte art – Created by using tools to manipulate foam after pouring
Free-pour art focuses on flow, symmetry, and timing. Etched art gives you more creative control and freedom, especially for custom or advanced designs.
Let’s look at the tools that make etched art possible.
Essential Latte Art Tools
Here are the most common tools used by baristas and latte artists to add detail and definition to their designs:
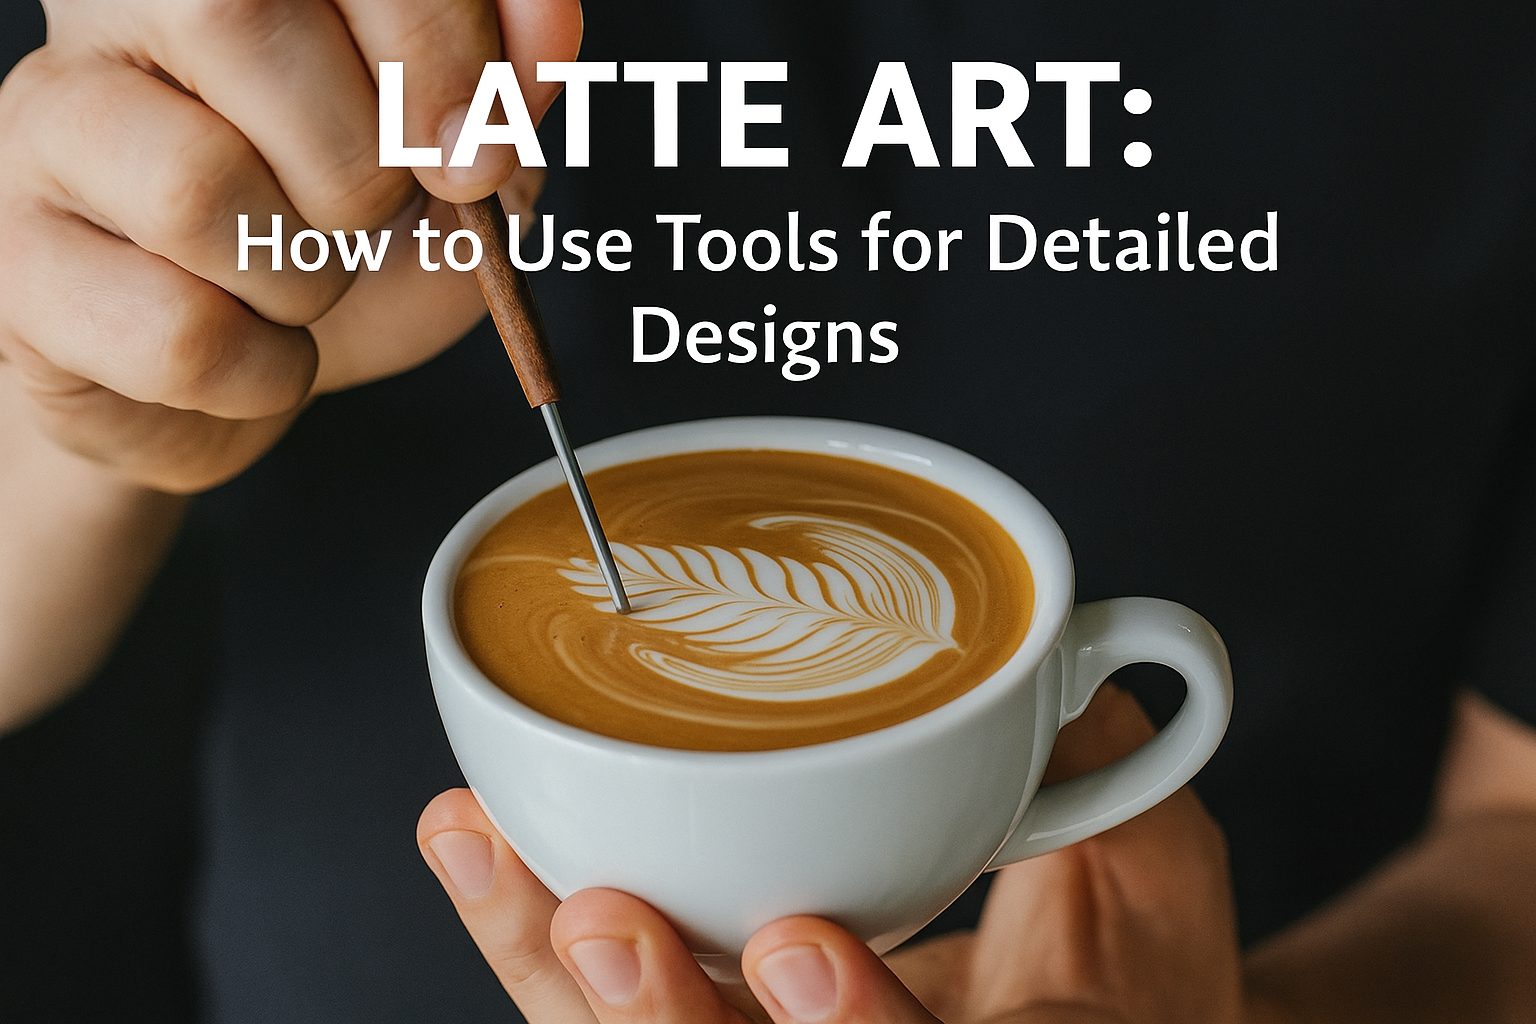
1. Latte Art Pen (Etching Tool)
This is the most common tool. It looks like a metal or plastic stick with a fine, pointed end and sometimes a rounded end on the other side.
Use it to:
- Draw lines or patterns on the foam
- Shape poured designs more precisely
- Add eyes, whiskers, petals, or borders
Some pens have dual tips — one for drawing, another for spreading foam or cleaning up edges.
2. Toothpick or Skewer
A simple wooden stick can do wonders when used delicately. Many baristas start with this before upgrading to a metal tool.
Best for:
- Practicing without investing in gear
- Creating fine details in small designs
- Single-use hygiene in busy cafés
Just be careful not to press too hard or you’ll pierce the crema.
3. Spoon (for Layering or Lifting Foam)
A spoon isn’t just for stirring. In latte art, it can be used to:
- Lift foam and create 3D shapes
- Add foam selectively to specific areas
- Layer different types of foam or color
Flat or curved bar spoons work well for this. Just remember to keep it clean and dry between uses.
4. Food-Safe Brushes
For highly detailed latte art — especially using colors or powders — small brushes can help you apply shapes or shading with accuracy.
Great for:
- Applying edible color powders
- Brushing cocoa or cinnamon into shapes
- Adding soft, painterly textures
Use brushes with soft bristles and sanitize them thoroughly.
5. Stencils
Not exactly a tool for drawing by hand, but useful for branding or consistency. A stencil can be placed over the cup and dusted with cocoa, matcha, or powdered sugar.
They’re useful when you want sharp logos or icons on foam quickly.
Milk Quality Still Comes First
Before using any tool, your milk texture must be right. Tools can’t fix poorly steamed milk.
Your foam should be:
- Smooth, glossy, and free of bubbles
- Not too thick or dry
- Able to hold its shape for at least 1–2 minutes
Use whole milk for best results, or a well-performing plant-based barista blend. Make sure the milk is poured cleanly into the cup to form a flat, even surface — this becomes your canvas.
When to Use Tools (and When Not To)
Tool-based latte art isn’t always appropriate. Here’s when it works best:
Ideal Moments
- Custom orders with requested shapes
- Latte art competitions or social media posts
- Café branding or promotional drinks
- Practicing control over foam texture and design
When to Avoid
- In high-volume service where speed is essential
- If the milk surface is too bubbly or unstable
- If your basic pour isn’t clean — tools won’t fix bad pours
- When the customer prefers traditional art
Using tools should be a choice, not a crutch. They expand your creativity — but don’t replace fundamentals.
Basic Techniques with a Latte Art Pen
Once you have your tool ready and a clean canvas of microfoam, try these beginner-friendly techniques:
1. The Drag
After pouring a heart, use the pen to drag a line through the center to create a sharp arrow or tulip.
You can also drag curves around the heart edges to make petals or wings.
2. The Dot and Pull
Place a dot of milk foam on the crema, then pull outward with your pen to create rays or spikes. This is useful for flower-like designs or stars.
3. The Swirl
Use the pen to gently swirl the foam in circular motions, creating a spiral or hypnotic pattern. This works well on cappuccinos or drinks with extra foam.
4. Precision Outlining
Outline a poured rosetta or tulip to enhance contrast and make it pop. This also helps define edges if your milk flow wasn’t perfect.
Use soft, controlled strokes — don’t dig into the foam.
Advanced Uses for Latte Art Tools
As your skills grow, you can begin creating custom designs using only tools, without any free-pour art at all.
1. Characters and Faces
Draw animals like cats, bears, pandas, or even cartoons. Use a fine-tipped pen for facial features and a spoon to place foam in rounded shapes.
2. Landscapes and Scenes
Baristas have created entire scenes — trees, mountains, waves — with just foam and a latte pen. It takes time and imagination, but the results are incredible.
3. Logos and Branding
If you’re representing a café or product, drawing a recognizable symbol in latte foam is a great way to impress. Combine stencils and pens for the cleanest look.
4. Colored Latte Art
Some baristas mix food-grade natural powders into the milk or foam (like beetroot, matcha, turmeric) to create color accents. Brushes or pens are used to place and blend these colors.
Cleanliness and Tool Hygiene
Because latte art tools touch the foam, which touches the drink, they must be kept clean at all times.
- Wash tools after every use
- Sanitize between customers
- Dry completely to avoid contamination
- Store tools in a dry, closed container
If your café is busy, consider using single-use picks or dedicated tools for each shift.
Practice Tips for Using Tools
Tool-based latte art takes just as much practice as pouring. Here’s how to train:
- Start with just milk and water for practice
- Use black coffee or food coloring as a base to simulate crema
- Practice drawing on paper to train hand control
- Pour a base, then do multiple designs in a row — repetition helps
Film yourself to observe pressure, angle, and stability.
Combining Tools with Free-Pour Art
Some of the most impressive designs blend both techniques. For example:
- Pour a tulip, then draw a heart inside it
- Pour a swan, then outline the wings or shape the beak with a pen
- Pour a circle, then draw petals around it
This fusion technique allows for artistic expression while maintaining structure and flow.
Mistakes to Avoid
Even with great tools, you might run into problems. Common issues include:
- Digging too deep — ruins crema and makes muddy lines
- Working too slowly — foam dries and becomes unworkable
- Using dirty tools — leads to contamination
- Forgetting foam stability — unstable foam won’t hold shapes
- Overloading with detail — can look messy and confusing
Keep it clean, simple, and elegant. Less is often more.
Inspiration from Latte Art Champions
Many world-class latte artists use tools to achieve their award-winning designs. Names like Hiroshi Sawada and Dritan Alsela often mix free-pour and etched art to create signature looks.
Follow barista competitions or browse latte art hashtags on social media to discover new techniques and ideas.
Study how professionals:
- Position their designs
- Use contrast and balance
- Simplify complex ideas into clear foam shapes
Use what you learn as inspiration — then make it your own.
Final Thoughts: Tools Are an Extension of Your Art
Latte art tools are not magic wands. They won’t create perfect drinks on their own. But in the hands of a skilled and patient barista, they unlock a new world of creativity and detail.
Start small. Master one tool and one technique at a time. With daily practice and a curious mindset, you’ll develop a signature style that sets your drinks apart.
Whether you’re drawing a cat’s face, outlining a heart, or adding a touch of cocoa dust through a stencil, your tools become an extension of your hand — and your craft.

Marcelo Rodrigues is a passionate barista with over 7 years of experience in specialty coffee. He’s worked in top cafés, led barista training sessions, and now shares practical tips to help beginners and coffee lovers improve their skills. Through this blog, Marcel makes the world of coffee more accessible—one cup at a time.