
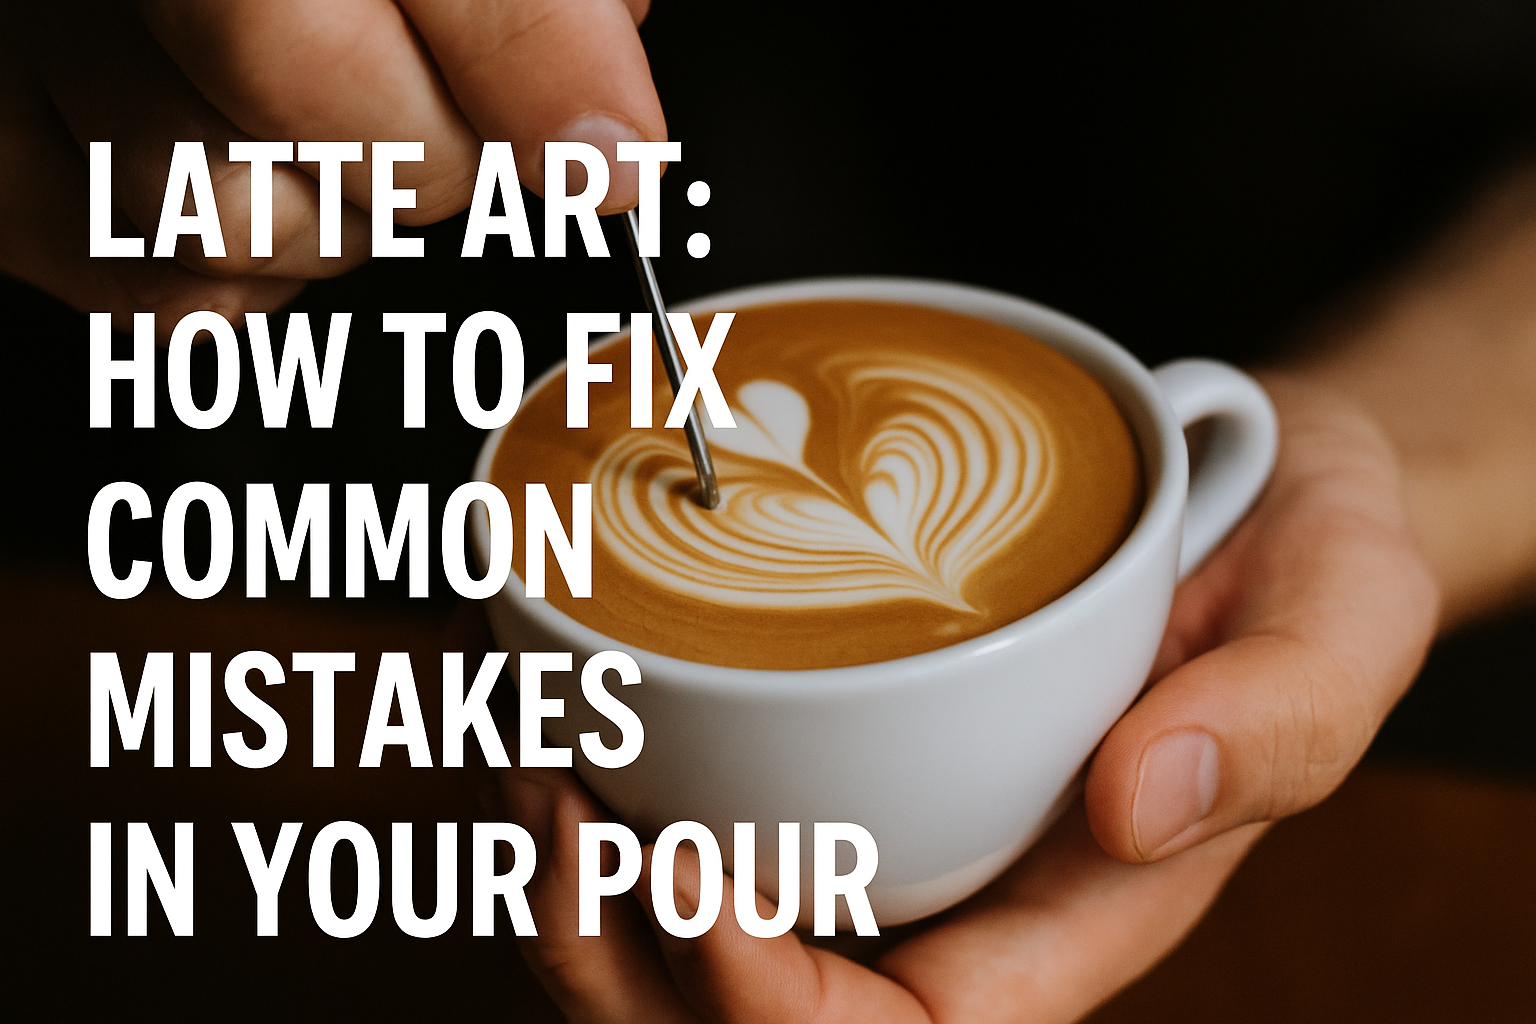
Latte art is more than just a pretty design on top of a cup of coffee. It’s a blend of technique, timing, temperature, and touch.
Every swirl and shape reflects your control over the process — from espresso extraction to milk steaming and pouring.
But even passionate baristas and home brewers make mistakes that ruin their pours. The good news? Most issues have practical solutions. In this guide, we’ll explore the most common latte art errors and how to fix each one effectively.
Mistake 1: Using the Wrong Milk Texture
The base of any latte art is perfectly steamed milk. One of the most frequent problems beginners face is milk that is either too foamy or too flat.
Overfoamed milk results in bubbly, stiff designs with poor integration. On the other hand, under-textured milk makes the design fade into the crema, leaving a muddy or invisible pattern.
How to Fix It
The goal is to create microfoam, which looks like wet paint or melted ice cream. Use cold milk and keep the steam wand just below the surface to introduce air gently. After the milk reaches body temperature (around 37°C or 98°F), lower the wand and focus on creating a whirlpool to blend the foam evenly.
End steaming around 60–65°C (140–150°F). Give the pitcher a few taps on the counter to pop bubbles and swirl the milk before pouring.
Mistake 2: Pouring Too Fast or Too Slow
Your pour speed has a direct impact on the shape and clarity of your design. Many beginners either rush the pour or pour so slowly that the milk just sinks.
Pouring too quickly breaks the crema and causes the milk to “bleed” into the espresso. Pouring too slowly may not create enough contrast for the design to show.
How to Fix It
Begin with a slow and high pour to mix the milk with the espresso. As you get closer to creating your design, lower the pitcher and increase the flow slightly. The faster pour at close range will allow the foam to rise to the surface and take shape.
Practice with water in the pitcher and a cup of espresso-colored liquid (such as water with soy sauce) to build muscle memory without wasting coffee.
Mistake 3: Pitcher Height Errors
The height at which you pour determines whether the milk integrates into the espresso or sits on top as foam. Starting too low means the foam hits early and disrupts the crema. Starting too high might splash or mix in without enough control.
How to Fix It
Start pouring from about 6–10 cm above the cup. This helps break through the crema during the initial phase. Once the cup is half full, bring the pitcher closer to the surface (almost touching) and slow down to lay the foam onto the crema gently.
Use a mirror in training sessions to check how close your pitcher is to the surface.
Mistake 4: Incorrect Cup Positioning
How you hold the cup affects the direction and balance of the design. Many beginners keep the cup flat or fail to rotate it during pouring, causing lopsided designs.
How to Fix It
Hold the cup at a 20 to 30-degree angle, especially when pouring tulips or rosettas. This allows the foam to settle on one side first, giving you better control over symmetry. As you pour, gradually tilt the cup back to level as it fills.
Also, move your hand in small, controlled motions rather than rotating the entire cup too quickly.
Mistake 5: Shaky or Stiff Hands
Latte art requires a steady, confident hand. Many people either shake due to nervousness or grip the pitcher so tightly they lose fluidity.
How to Fix It
Relax your shoulders and use your wrist, not your whole arm, to guide the pour. Grip the pitcher lightly — imagine holding a pen, not a hammer.
If your hand trembles, try drawing shapes on a dry-erase board with your non-dominant hand. This simple training improves fine motor control and wrist stability.
Mistake 6: Poor Espresso Quality
No matter how perfect your milk is, poor espresso will ruin your art. A thin, over-extracted shot lacks crema and body. A sour, under-extracted shot tastes bad and doesn’t provide a stable base.
How to Fix It
Use freshly ground coffee, tamp evenly, and dial in your grinder to produce a balanced, creamy espresso with rich crema. Make sure your machine is clean, and your basket is dry before brewing.
Check the extraction time — aim for 25–30 seconds for a double shot.
Mistake 7: Overheating or Reheating Milk
Reheating milk or steaming it too hot leads to scalded milk with broken proteins. It tastes bad and foams poorly.
How to Fix It
Always start with cold, fresh milk. Use a thermometer if needed. Ideal milk temperature is between 60–65°C (140–150°F). Stop steaming as soon as the pitcher becomes too hot to touch for more than 3 seconds.
Never reheat steamed milk. Discard and start fresh if needed.
Mistake 8: Rushing the Workflow
Latte art requires timing. If you take too long between steaming and pouring, the milk separates and loses texture. If your espresso sits too long, the crema dissipates.
How to Fix It
Organize your workspace so you can steam milk and pour immediately. Steam while the espresso is extracting, if possible. Practice your timing to sync both parts seamlessly.
Consistency is key — the more you repeat the correct process, the more natural it becomes.
Mistake 9: Neglecting Practice
Some people expect quick results and get frustrated when their pours don’t improve. Latte art is a discipline — progress is slow but rewarding.
How to Fix It
Dedicate regular time to focused practice. Don’t just make coffee — train specific skills. One day, work only on rosettas. Another day, practice your heart shapes. Use water and food coloring for non-coffee practice.
Record yourself and review the footage to identify patterns in your technique.
Mistake 10: Dirty Tools and Equipment
Cleanliness affects taste and texture. Old milk in the steam wand or espresso oils in the portafilter can change the outcome drastically.
How to Fix It
Purge and wipe the steam wand before and after every use. Soak your portafilter baskets in cleaning solution regularly. Backflush your espresso machine at the end of each day.
Sanitized equipment ensures better foam, flavor, and presentation.
Bonus Tip: Use the Right Milk
Different types of milk produce different results. Whole milk creates the best microfoam and stability. Low-fat and non-dairy alternatives (like oat or almond milk) require more technique and give less contrast.
For beginners, start with cold, whole milk. Once you’ve mastered that, you can experiment with alternatives and adapt your steaming techniques accordingly.
Why Fixing Mistakes Matters
Latte art may look decorative, but it’s a sign of care and craftsmanship. Customers notice when their coffee is made with attention to detail. At home, it elevates your experience and gives you confidence in your skills.
More than anything, learning from your mistakes makes you a better barista. Every flaw is a chance to grow — and every successful pour is a small victory.
Final Thoughts: Small Fixes, Big Improvements
Perfection in latte art doesn’t come from talent. It comes from awareness, correction, and repetition. By identifying where things go wrong and applying focused fixes, your pours will start to look more professional — and your drinks will taste better too.
Next time you steam milk or pour a heart, think about your technique. Make one small change, and watch how it improves your entire cup.

Marcelo Rodrigues is a passionate barista with over 7 years of experience in specialty coffee. He’s worked in top cafés, led barista training sessions, and now shares practical tips to help beginners and coffee lovers improve their skills. Through this blog, Marcel makes the world of coffee more accessible—one cup at a time.